Rockin’ My Fluffy Fro


Early on in my natural hair journey I started trying styles that I could do at night.  I was finally understanding that my hair would thrive if I could just stay away from the flat iron every morning.  Little did I know that there would be a lot of trial and error.  The braid-out style has always kept me guessing because I could never get it quite right.  Either I chose the wrong products, separated the sections too much or it simply wasn’t dry in time. 

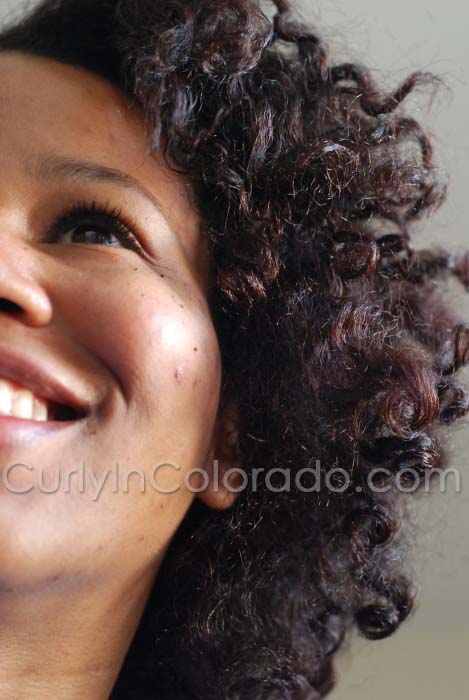
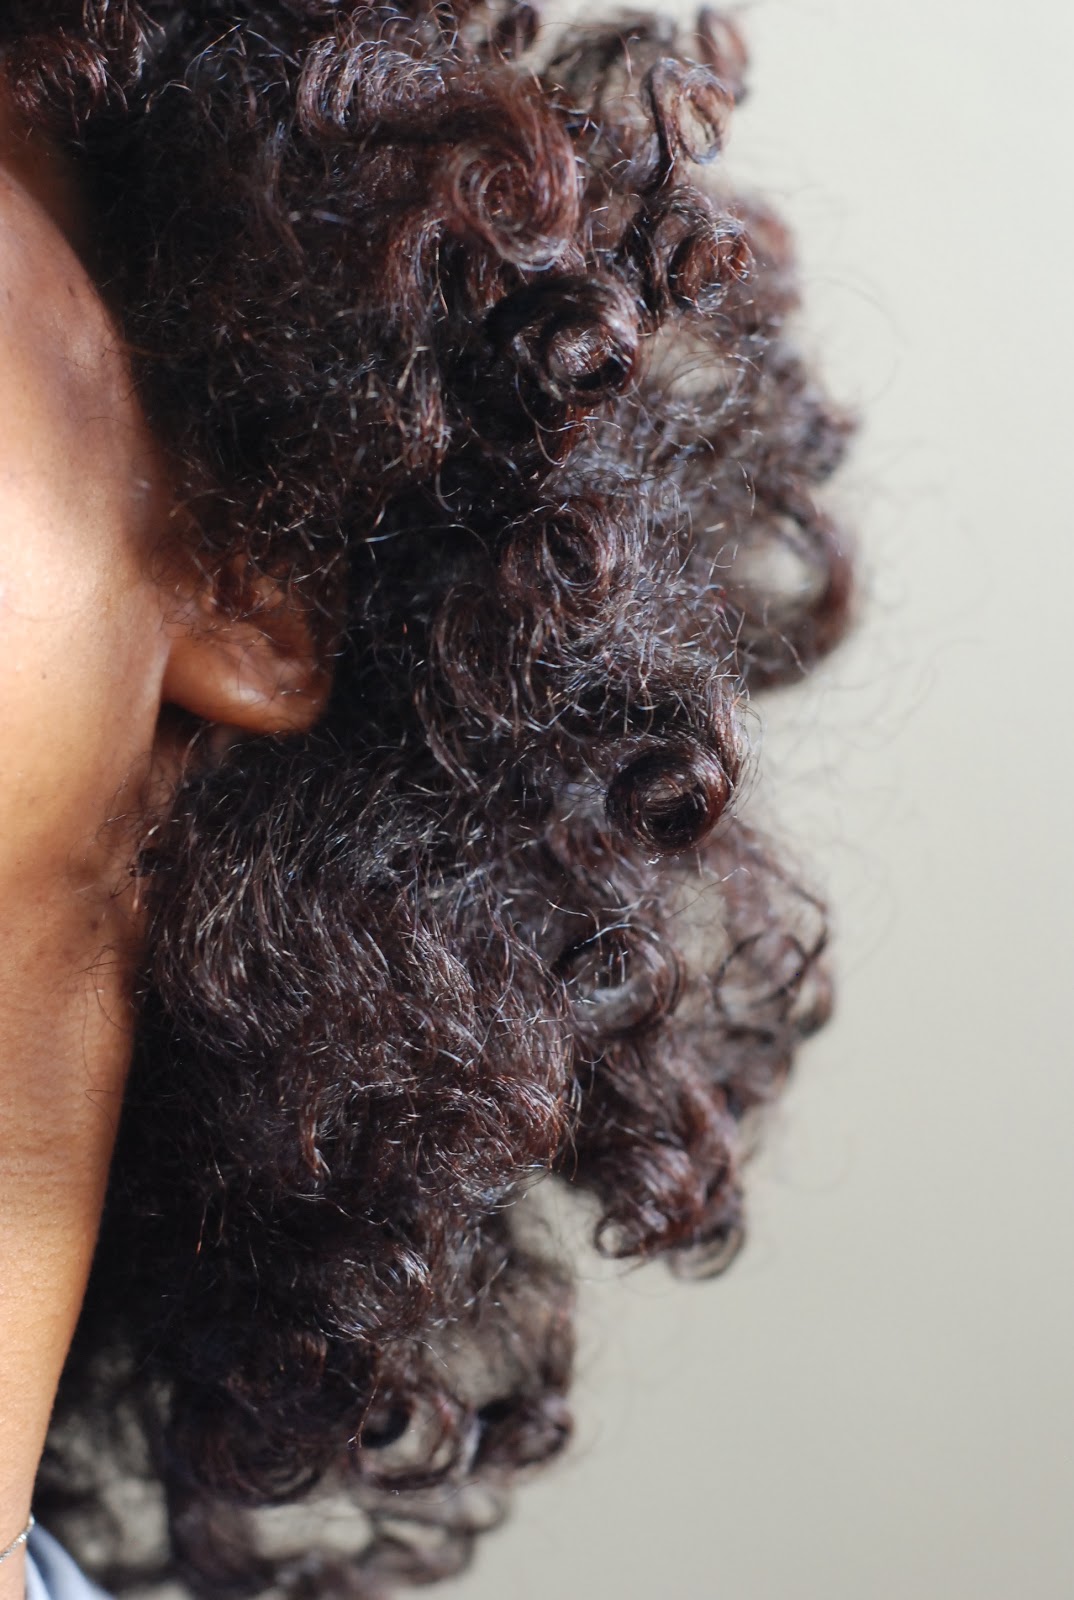
I’ve come to realize that every braid-out I do is different depending on so many different factors.  So instead of cringing at the first sign of poof, I’m learning to just go with it.  In the end, the technique is altering my tight, curly fro and stretching my hair.  This helps with tangles and those nasty little single strand knots.  While I am pleased when the style results in lots of definition and curl, I’m also learning to accept the big fluffy look I sometimes

get.  Most importantly, I rock it in public so that others can see that big hair is beautiful and it’s here to stay.

Braid-out Success with Palmer’s Coconut Oil Replenishing Hair Milk

Normally when I do a braid-out I end up with frizzy ends.  I always make sure to be very careful when taking the braids down but it just hasn’t been working out.  Another thing that I wrestle with is getting my hair to air dry completely.  I usually spritz my hair with my Aloe Vera juice spray mixture and apply shea butter or some other heavy moisture for hold.  By morning my hair is always damp and we all know what happens if you don’t wait until your hair is completely dry…frizzy, puffy hair.  

Now I’m learning to just start out with dry hair and apply moisturizer to set the style.  This is sometimes my current go-to Palmer’s Coconut Oil Replenishing Hair Milk, or just plain leave-in conditioner.  I like the Hair Milk because it also helps to reduce frizz and lists shea butter as one of the main ingredients.  I then seal the moisture with one of my favorite oils.  
For my most recent braid-out, I used small satin rollers on the ends.  Only this time I wound the last 2 inches of hair around the roller (like a corkscrew) instead of rolling it up flat like I normally do.  The end result was a fabulous, full style with waves and spiral curls.     
Here are some pics

Most recent with curly ends
My Braid-out before with
straight, frizzy ends

Crochet on the Brain


My “Rasta” Slouchy Beret


I want a hat that is large enough to cover up my braids when I’m trying to do a braid-out. For some reason my hair is never dry by morning when I’m taking the kids to school. Then, when I wear my hair out, the hats that I see at the store are just not big enough for my hair…lol! So, I’ve decided to make my own. That way I can make it as big as I need to.

Which brings us to the slouchy beret that I’ve been working on since early September.  I found the beret crochet pattern on YouTube (my second home).  It was posted by Bethintx1 in four seperate videos where she takes you through it step by step.  The color I used (Limelight) is not really something I would wear out but the hat turned out kinda cute anyway.  I did a couple more increase rows to make a “Rasta” style hat.  I’m gonna start the pattern again (the first try was for experimentation) and make a few variations this time. 


Back View
used double
crochet throughout


The yarn I’m using is called, “I Love this Yarn,” and is available at Hobby Lobby for about $3.50 (USD) per skein.  I like that it’s acrylic for easy washing and is super soft which makes it nice to work with.  It’s not only perfect for my budget but it comes in so many fabulous colors.  My second beret is going to be done in the color “Ivory” which will be a fun look for the winter months. 


The Satin Braid-Out

I joined yet another group over at the K.I.S.S. network. This time it’s a group where we will be doing “Satin Braid-Outs” and sharing info on how to perfect the look. I watched a video on YouTube by NinaPruitt where she demonstrates how to do it. I used a long satin scarf that I thought would work and cut it into 4 strips. I cut it using pinking shears because I didn’t want the fabric to fray. My hair was freshly washed and conditioned so I applied the KimmayTube Leave-in where I substituted Giovanni Direct Leave-In for my creamy base and coconut oil instead of jojoba oil. Then I sealed in the moisture with my castor, coconut and olive oil mixture.

The braiding wasn’t as tricky as I expected. It was just like adding extension hair to a braid except you’re using a piece of satin fabric. My strips were not quite long enough though so tyeing the ends was a little awkward. The next morning, my hair was very defined but, the strips did leave small pieces of frayed fabric in my hair. I did not enjoy picking those out of my hair all day. Also, my hair was still damp which I knew would lead to crazy, frizzy hair so I put it up into a protective style.
So it’s back to the drawing board on this one. I’ll have to check back with my group and find out what other ladies are doing for this style. I really hope to get the braid-out down because I know it will come in handy later on.

Transitioning into Natural Hair

Once I finally decided that I was “going natural” and needed to grow out my relaxer, I looked for information on styles that would help with my transition.  The last time I applied relaxer to my hair was in July 2008.  It was now October and my new growth was coming in thick and wavy.  At the time, all I did was wear my hair straight.  This was harder and harder to accomplish the more my natural hair grew.  I looked to the internet and found tons of videos on how to do different styles while transitioning.  I figured why not just start doing my hair as if I were already natural.  That way, I would have some idea of what to do when I cut off the relaxed ends.

Braids with Perm Rods on the ends
Previously, in August ’08, I went back to a darker hair color.  With that out of the way, I began focusing on teaching myself how to style my hair without using any heat.  This was all very new for me.  Some styles turned out great and others were complete disasters.  In the months before my “Big Chop“, I taught myself how to Flat Twist, Roller set with perm rods and even do my own braid extensions.  Some days I just wore it up in a bun to give my hair a break.  
Now when I look back on my transition, which ended up being for 9 months, I realize that my plan worked.  I use these styles all of the time.  I don’t do extenstions anymore, but I enjoy wearing my hair in small individual braids from time to time.  
The “Braid-out” with Satin Scarf Headband
My advice to Transitioners; “Do your hair as if you are already natural,”.  Once you decide to go natural, you might as well start your journey and begin using products and techniques that will help you later on.  Not only will you know what to do once you do the Big Chop, but you’ll have some idea of how you’ll look wearing your
natural hair.